
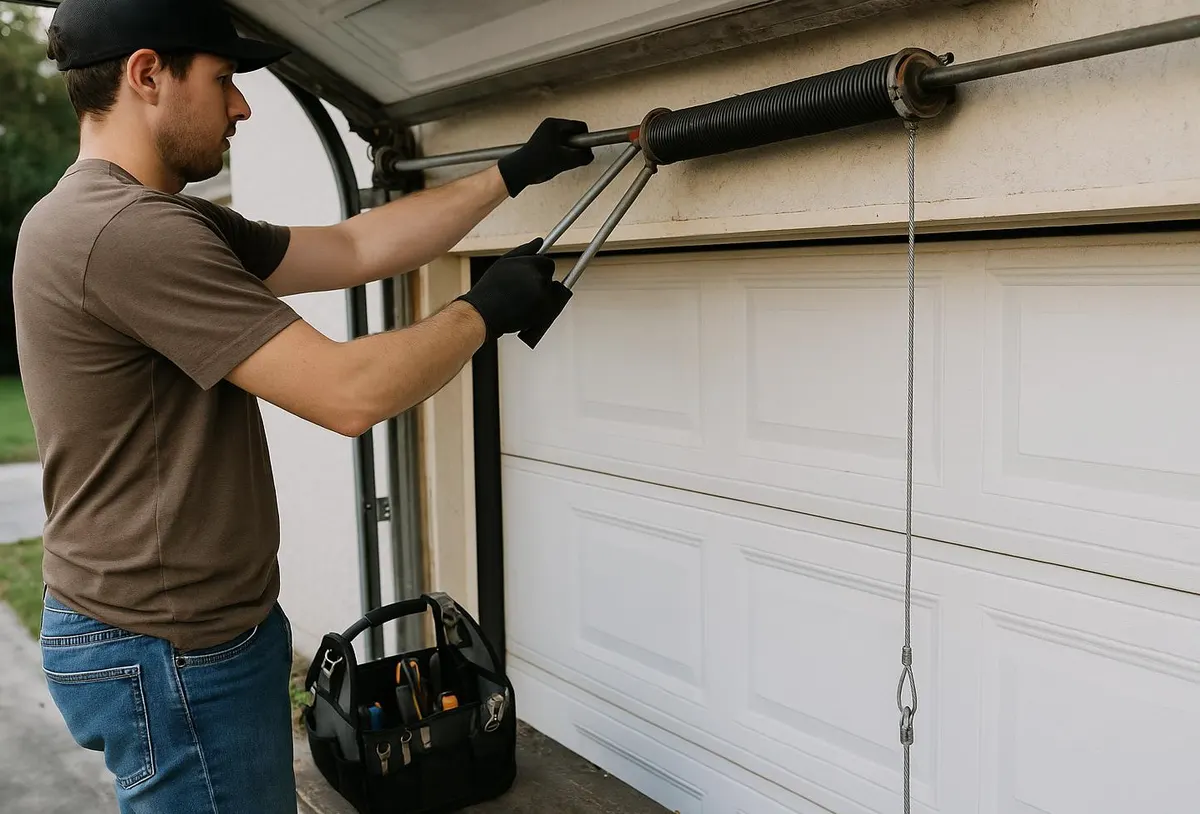
What a Technician Sees on a Typical Call
A lot of service calls in Johnson County start the same way: a homeowner notices daylight under the garage door, or finds a thin layer of grit and dead leaves along the inside edge of the floor. Sometimes it's a water stain on the concrete after a spring storm, or mouse droppings near a bag of grass seed that's been pushed up against the wall. Almost every time, the culprit is the same: a bottom seal that's cracked, flattened, or pulled loose from its track, or side and top weatherstripping that's gone stiff and brittle.
This isn't a dramatic failure. It's a slow one. Rubber seals take a beating here — baking in humid summer heat, then going rigid in freezing winter temperatures, then getting dragged over road salt and ice chunks tracked in on tires. Over a few years that constant expansion and contraction causes the material to crack, shrink, or tear away from its retainer. The fix is one of the cheapest and most overlooked repairs a homeowner can do.
Why This Matters More Here Than in Milder Climates
With the big seasonal swings this area sees — icy, salted winters followed by humid summers and a rough stretch of spring storms — a worn seal does more than let in a draft. It lets in meltwater and salt brine that can pit a concrete floor, humid air that feeds mold on stored boxes, and small pests looking for shelter before the first hard freeze. Fall, before winter sets in, is the ideal time to check and replace seals.
Tools You'll Need
- Tape measure
- Utility knife or sharp scissors
- Flathead screwdriver (for retainer-style tracks)
- Replacement bottom seal matching your track profile (bead, T-style, or flat)
- Replacement vinyl or rubber jamb weatherstripping, if needed
- Stiff brush or shop vac for cleaning the track
- Work gloves
- A helper, or clamps, if you need to prop the door open
Step-by-Step: Replacing a Bottom Seal
- Identify the seal type. Look at the bottom edge of the door. Most residential doors use a bead-style, T-style, or beveled seal that slides into a metal or vinyl retainer channel. Buying the wrong profile is the most common DIY mistake, so bring a small cut piece of the old seal to the hardware store if you're unsure.
- Measure the door width. Standard widths are common, but measure anyway — seals are usually sold slightly long so you can trim to fit.
- Raise and secure the door. Open the door fully and either clamp it in place on the tracks or have a helper hold it. Disconnect the opener if you're working with the door up for more than a few minutes.
- Pull the old seal free. It usually slides out of the retainer channel by hand once you work one end loose with the flathead screwdriver. Expect it to come out brittle or in pieces.
- Clean the channel. Years of dried mud, salt residue, and old caulk build up in the retainer. Clear it out so the new seal seats fully — a gap here is why new seals sometimes still leak.
- Cut the new seal to length. Add an inch of slack on each end before trimming; it's easier to trim more than to come up short.
- Feed it into the track. Start at one end and work across, pressing the bead or flange firmly into the channel the entire width of the door.
- Lower the door and check the fit. Close the door and look for daylight along the entire bottom edge, especially at the corners. Run a hand along the inside to check for gaps.
Don't Forget Side and Top Weatherstripping
The vinyl or rubber strip running along the sides and top of the door frame (sometimes called jamb seal) fails the same way — it dries out, shrinks, and pulls away from the nail fin or retainer. Replacing it is a similar process: pry out the old strip, clean the frame, and press or nail in the new piece, trimming corners at an angle so they meet cleanly.
What's Reasonable for a Homeowner to Do
- Replacing a bottom seal when the track is straight and the door closes flush and level
- Replacing side and top jamb weatherstripping on a wood or metal frame
- Clearing debris and old caulk from retainer channels
What Should Go to a Technician
- A new seal that still doesn't stop light or water — often a sign the door isn't closing level due to spring tension or a bent track
- An uneven concrete floor where a standard seal can't make full contact (may need a threshold seal installed professionally)
- A damaged astragal or retainer channel on a steel door that requires drilling or fastening
- A seal that wears unevenly on one side repeatedly, which usually points to a roller, hinge, or spring balance issue, not the seal itself
When to Call Franklin Garage Door Pro
If you've replaced the seal and still get drafts, standing water, or the door seems to close unevenly, that's usually not a weatherstripping problem anymore — it's a balance or hardware issue. Our team handles garage door maintenance visits that check spring tension, track alignment, and roller condition, along with spring repair & replacement when a worn or broken spring is the real reason the door won't seat properly against a new seal. We'll find the root cause instead of sending you back to the hardware store for a seal that won't fix it.
If your garage door is letting in drafts, pests, or water before winter sets in, call Franklin Garage Door Pro. We serve Franklin, Greenwood, Whiteland, Bargersville, Trafalgar, Edinburgh, Nineveh, and Princes Lakes, and we'll get your door sealed up right before the cold weather arrives.